Office File Recovery

Earlier versions of Microsoft Excel stores files with the .xls file extension. Now, the latest versions of Microsoft Excel support a new XML-based file format that saves files with the extension .xlsx. However, many users come across deletion and loss of XLS and XLSX spreadsheets due to various factors. Some common scenarios of loss or deletion Excel files include-
- File system corruption: File system may get corrupted due to various reasons like virus attack, improper system shutdown, power failures, etc. File system stores allocation information of each file. When you try to access the Excel file, the file system performs a search for its allocation information and then open the .xls file. When the file system gets corrupted, it makes the files inaccessible
- Accidental deletion of the Excel files: You may accidentally delete an important file instead of the unwanted file using Shift+Delete keys. If you want to restore them back from Recycle Bin then you cannot restore those files because files deleted using Shift+Delete keys bypass the Recycle Bin.
- Emptying the Recycle Bin: Generally, when you delete .xls files using Windows Explorer, they are moved to Recycle Bin. Later, if you want to restore them back then you can restore them from Recycle Bin. You may accidentally empty the Recycle Bin resulting in loss of .xls file. Emptying the Recycle Bin deletes all the files stored in Recycle Bin.
Excel File Recovery Made Easy
The Office File Recovery application will ultimately help you restore XLSX spreadsheet or XLS Excel spreadsheets within clicks. When you accidentally delete the .xlsx or .xls file, they are not permanently deleted from the hard drive. Instead, only allocation information of .xlsx or.xls file gets deleted making that space available for storing new files. If you save new files or copy new files to that area then these new files overwrite the old files resulting in permanent loss of files. Hence, avoid saving or copying new files over the hard drive from where you have lost or deleted the Excel files.
Office File Recovery Software performs overwritten Excel spreadsheet recovery to get back the data lost after editing the Excel file by replacing the old data with new data in simple steps. This software can also identify and recover different types of files on the basis of their unique signature. You can also use software to recover PPTX file, PPT files, DOC file, DOCX file, PST file, DBX files and all other file formats of Microsoft Office.
Note: Get complete information on how to recover deleted PST file on Windows systems in quick steps.
Steps to recover deleted or lost .xls or .xlsx files:
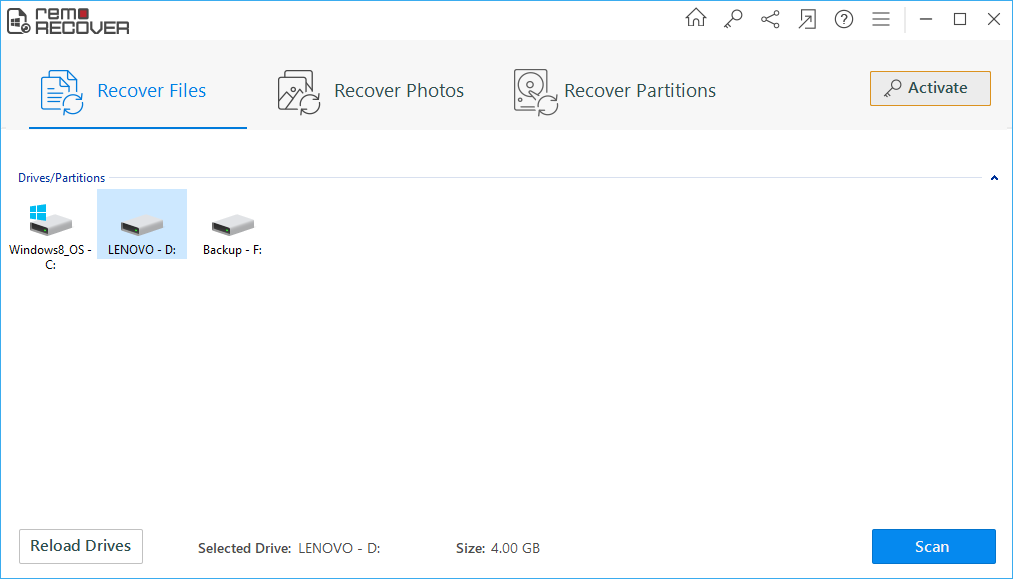
Step 1: Start Excel document file recovery by downloading the Office File Recovery application on your computer. Choose Recover Files from the main screen option. Then pick the drive that stored the deleted XLS and XLSX files. Press on the Scan button to continue.

Figure 1: Main Window
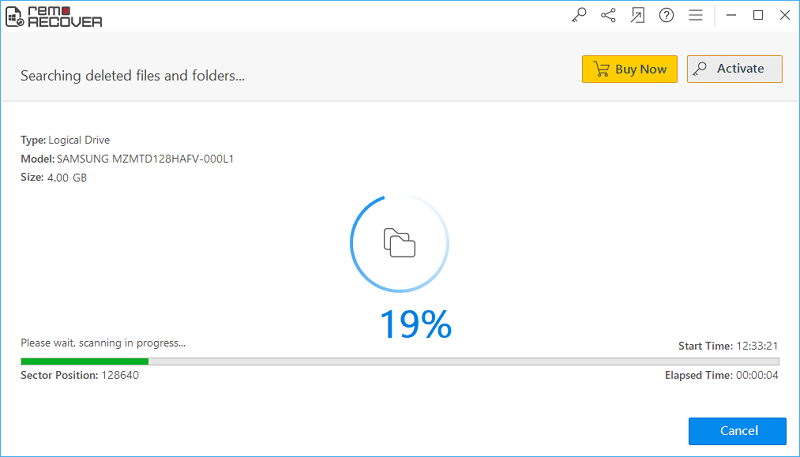
Step 2: The tool begins to scan the drive for the lost or deleted Excel spreadsheets.

Figure 2: Scanning for Files
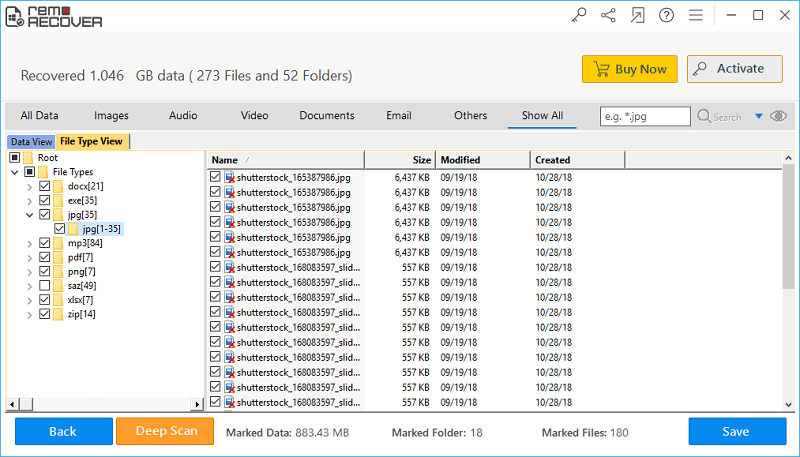
Step 3: A list of all recovered files appear in File Type View and Data View layouts. Mark the .xls and .xlsx files for saving.

Figure 3: Recovered Files
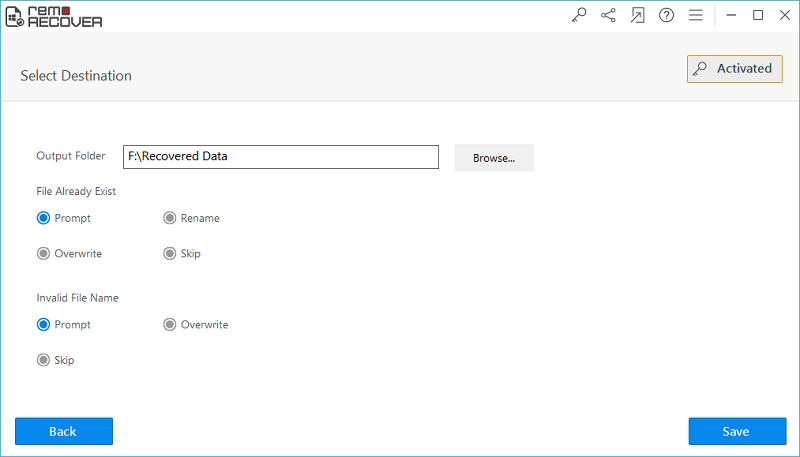
Step 4: Now you need to choose the destination location to save all the retrieved MS Excel files. Then proceed to press on the Save button.

Figure 4: Save Recovered Files